1. Introduction
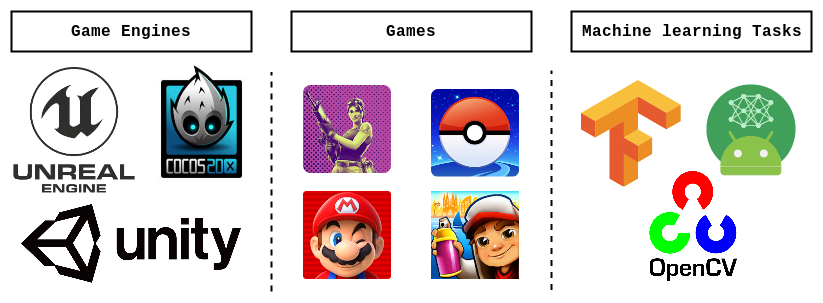
When you try to build a high-performance and optimized game or across platform application or maybe an application with advanced and complicated AI tasks in production, you most probably choose as programming language a low level one such as C or C++ . But if the platform is a mobile device, such as Android, is it still the same case of using a native language?
Short answer: Yes!
In fact, Android apps can be categorized into two types:
-
Dalvik applicationsthat includeJavacode and use the Android official SDK API only and necessary resource files, such as xml and png, compiled into an APK file. -
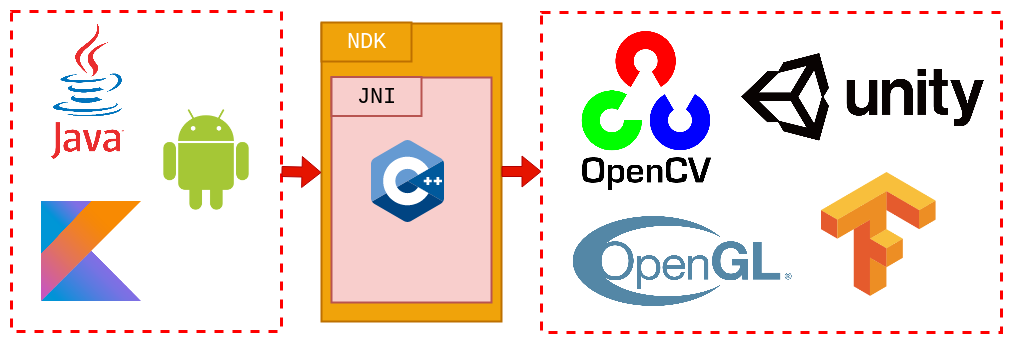
Android NDK applicationsthat includeJavacode and resource files as well asC/C++source code and sometimes assembly code. All native code is compiled into a dynamic linked library (.sofile) and then called by Java in the main program using a JNI mechanism.
2. What is the NDK and when should you use it?
The Android Native Development Kit (NDK) is a companion tool to the Android SDK. The NDK is a powerful tool for developing Android applications because it allow you to build performance-critical portions of your applications in native code. When using Java code, the Java-based source code needs to be interpreted into machine language using a virtual machine. In contrast, the native code is compiled and optimized into binary directly before execution. With proper use of native code, you can build high performance code in your application, such as hardware video encoding and decoding, graphics processing, and arithmetical operation.
Also, the NDK Reuses legacy native code. C/C++ codes can be compiled into a dynamic library that can be called by Java code with a JNI mechanism. JNI is an abbreviation for Java Native Interface. It allows C++ and Java parts to talk to each other in the simplest terms. For example, if you want to call a function from C++ in Java, you should write a JNI interface for this purpose.
If you write native code, your applications are still packaged into an .apk file and they still run inside of a virtual machine on the device. The fundamental Android application model does not change.
3. ABI: Application Binary Interface
As you know, Android is distributed for a variety of devices. Each device might have a different CPU architecture. When you develop an Android application that contains C++ code, you should care about the platforms on which your application will run. The C++ code should be compiled as a library for each platform you target. You can compile the library for all the supported platforms, or you can choose to compile it for only one platform.
You can list any subset of the ABIs the NDK supports, as shown below:
1
2
3
4
5
6
7
8
9

android {
    defaultConfig {
        ndk {
            // Tells Gradle to build outputs for the following ABIs and package
            // them into your APK.
             abiFilters 'x86', 'x86_64', 'armeabi-v7a', 'arm64-v8a'
        }
    }
}
When this flag is not configured, Gradle builds and packages all available ABIs.
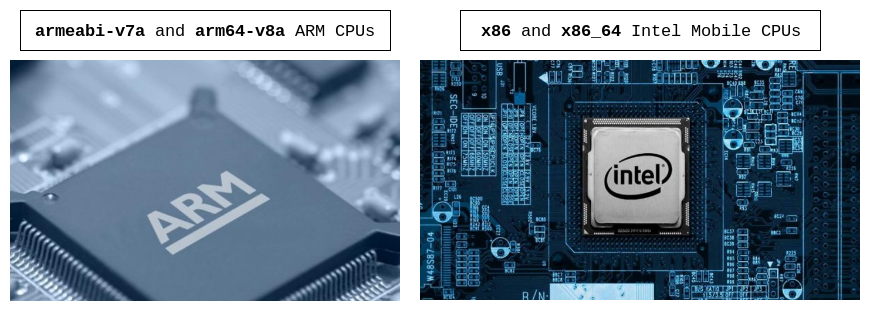
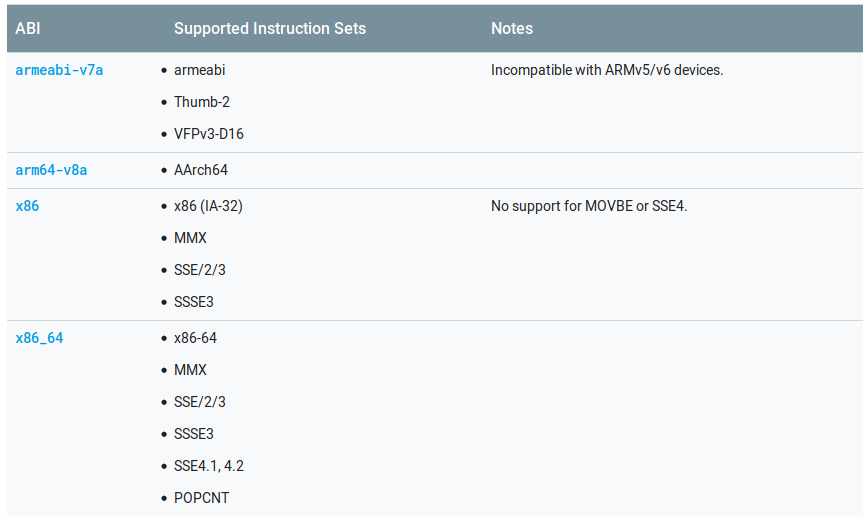
To reduce the size of your APK, consider configuring multiple APKs based on ABI—instead of creating one large APK with all versions of your native libraries, Gradle creates a separate APK for each ABI you want to support and only packages the files each ABI needs.
4. Examples
4.1. Hello World
1. Install the NDK, CMake, and LLDB
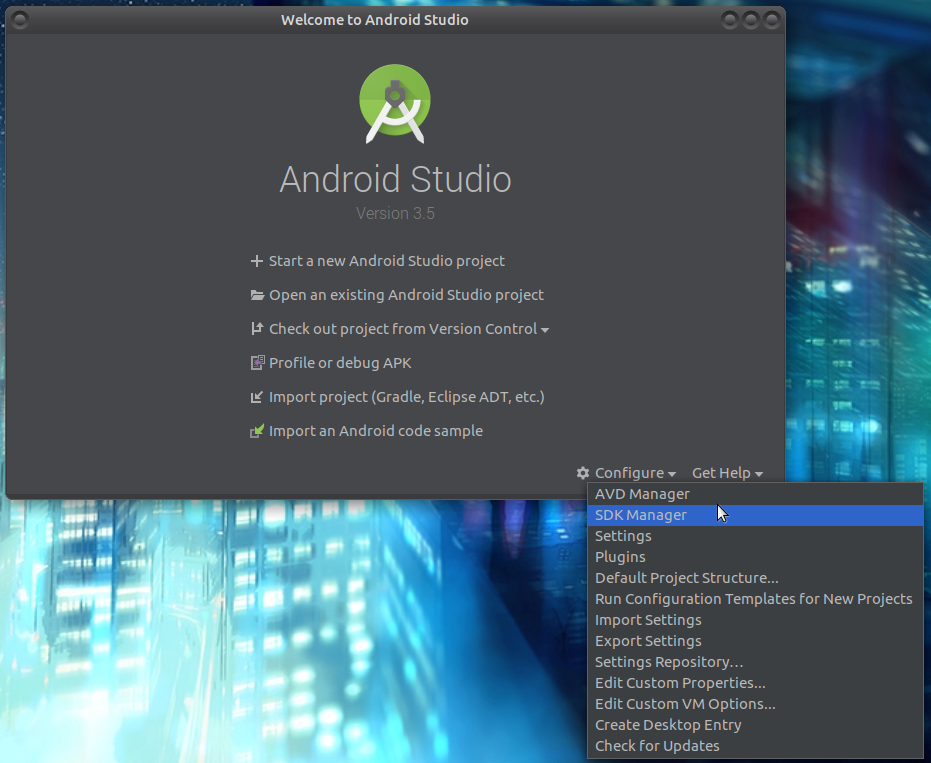
Under Configure select SDK Manager then check the LLDB, NDK, and CMake checkboxes.

2. Start a new Android Studio project
Open Android Studio and click Start a new Android Studio project. This will initiate the new project wizard.

3. Select a Native C++ project

4. Configure Your project
Next, give your project an application name, company domain (important when deploying your app to the Play Store and also influences your Java code namespaces), project location, and package name.

5. Customize C++ support
Determining what C++ Standard to use or when to upgrade can be tricky. The idea here is to use the C++ Standard thats most compatible your libraries, dependencies and existing source code. For this tutorial we’ll use the Toolchain Default. But future versions of your projects may use more modern C++…

6. Project structure

- Native Code in native-lib.cpp
1
2
3
4
5
6
7
8
9
10

#include <jni.h>
#include <string>

extern 'C' JNIEXPORT jstring JNICALL
Java_com_rabiielbeji_helloworld_MainActivity_stringFromJNI(
        JNIEnv *env,
        jobject /* this */) {
    std::string hello = "Hello Rabii from C++";
    return env->NewStringUTF(hello.c_str());
 }
- Cmake file
1
2
3
4
5
6
7
8
9
10

cmake_minimum_required(VERSION 3.4.1)

add_library( # Sets the name of the library.
        native-lib

        # Sets the library as a shared library.
        SHARED

        # Provides a relative path to your source file(s).
        native-lib.cpp)
- Main java activity class MainActivity.java
1
2
3
4
5
6
7
8
9
10
11
12
13
14
15
16
17
18
19
20

// Used to load the 'native-lib' library on application startup.
static {
    System.loadLibrary("native-lib");
}

@Override
protected void onCreate(Bundle savedInstanceState) {
    super.onCreate(savedInstanceState);
    setContentView(R.layout.activity_main);

    // Example of a call to a native method
    TextView tv = findViewById(R.id.sample_text);
    tv.setText(stringFromJNI());
}

/**
 * A native method that is implemented by the 'native-lib' native library,
 * which is packaged with this application.
 */
public native String stringFromJNI();
7. Result after running the app

- CODE : The code is available on NDK_HelloWorld
4.2. Image processing with OpenCV
What's OpenCV?
OpenCV (Open Source Computer Vision) is a library of programming functions mainly aimed at real-time computer vision. In simple language it is library used for Image Processing. It is mainly used to do all the operation related to Images.
It has a C++ interface and support Android ![]()
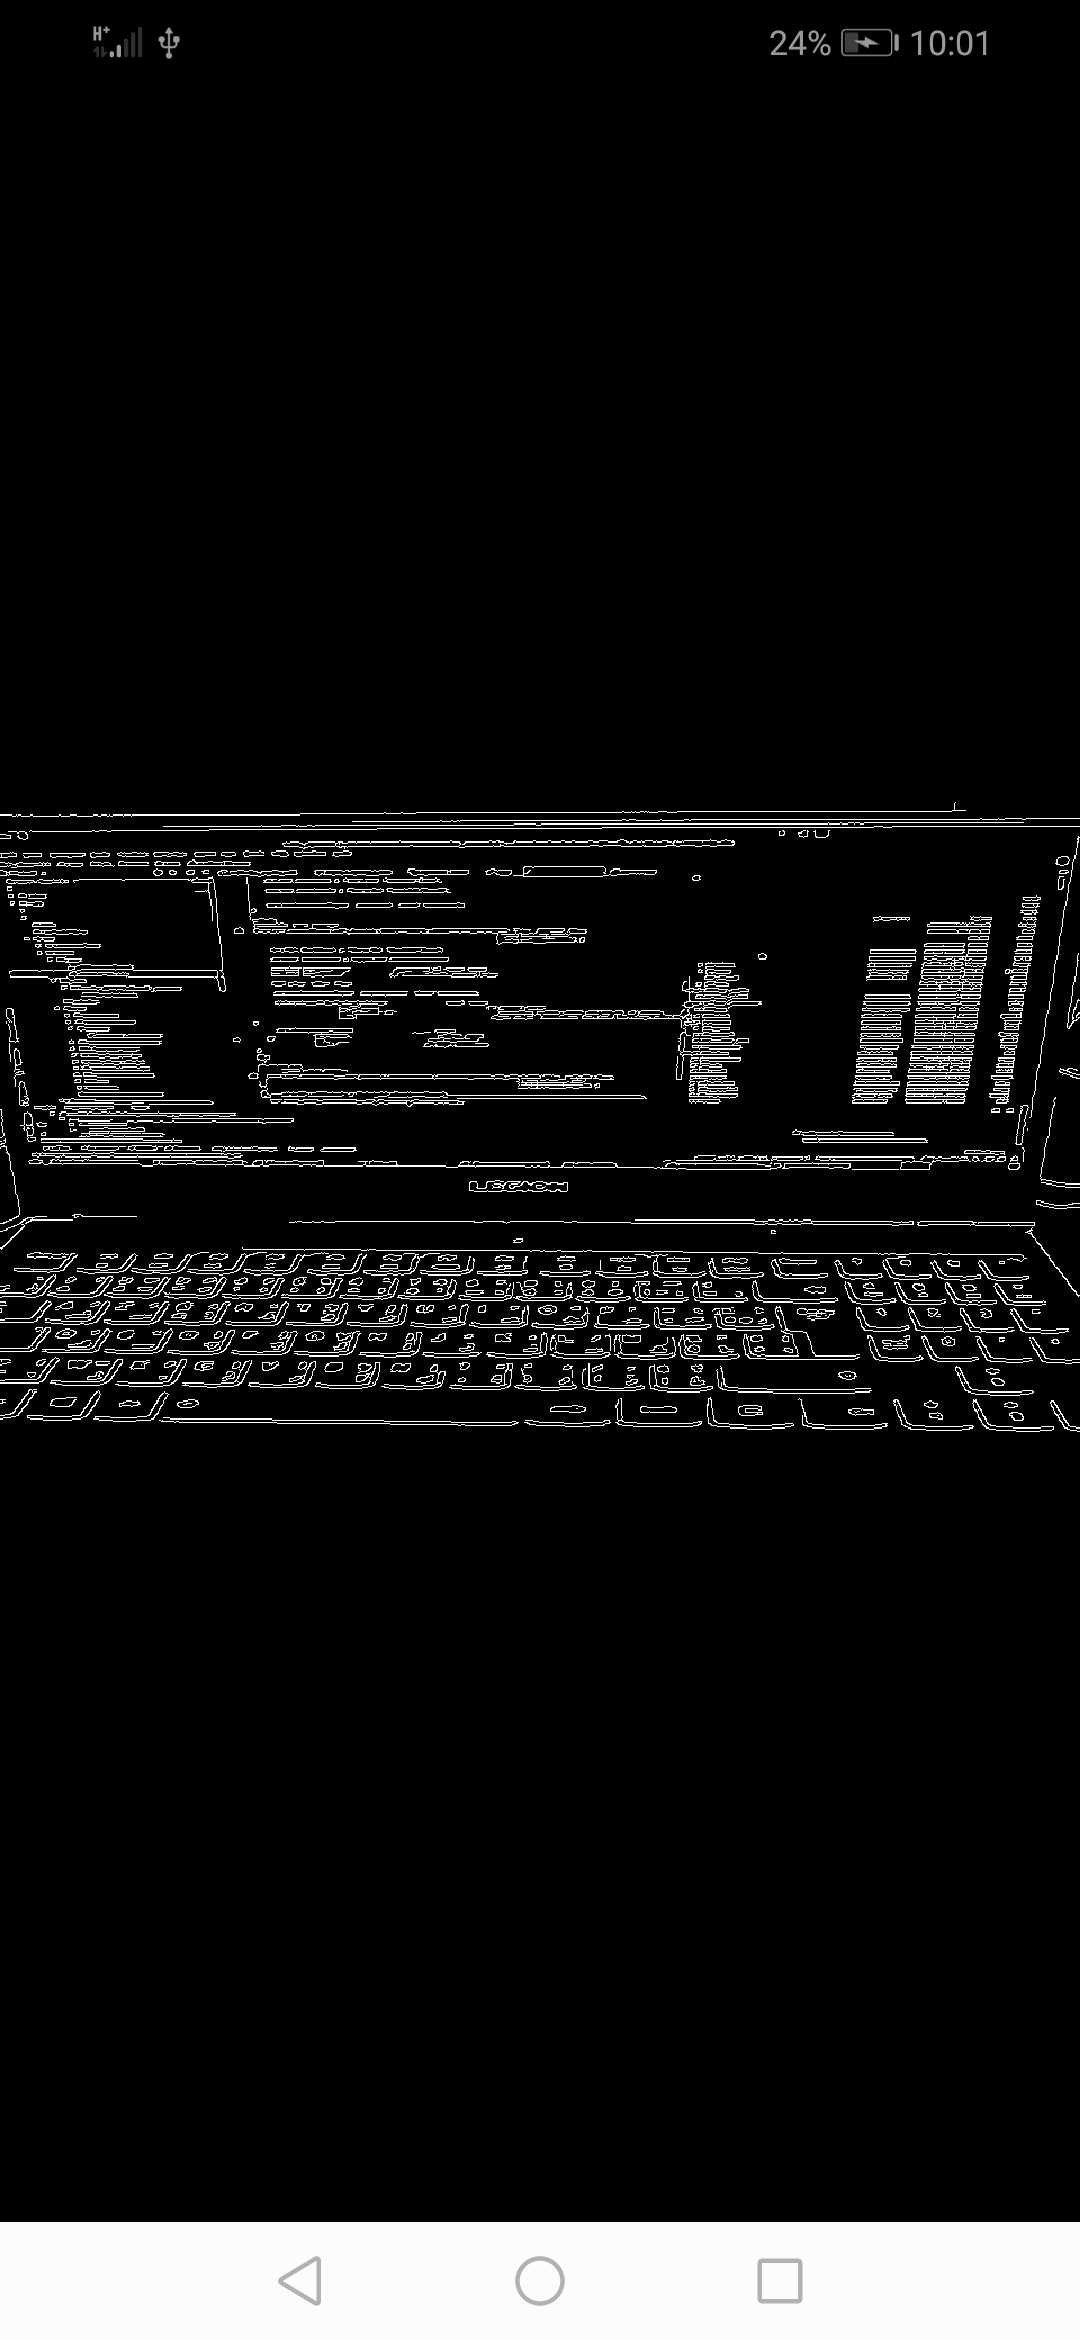
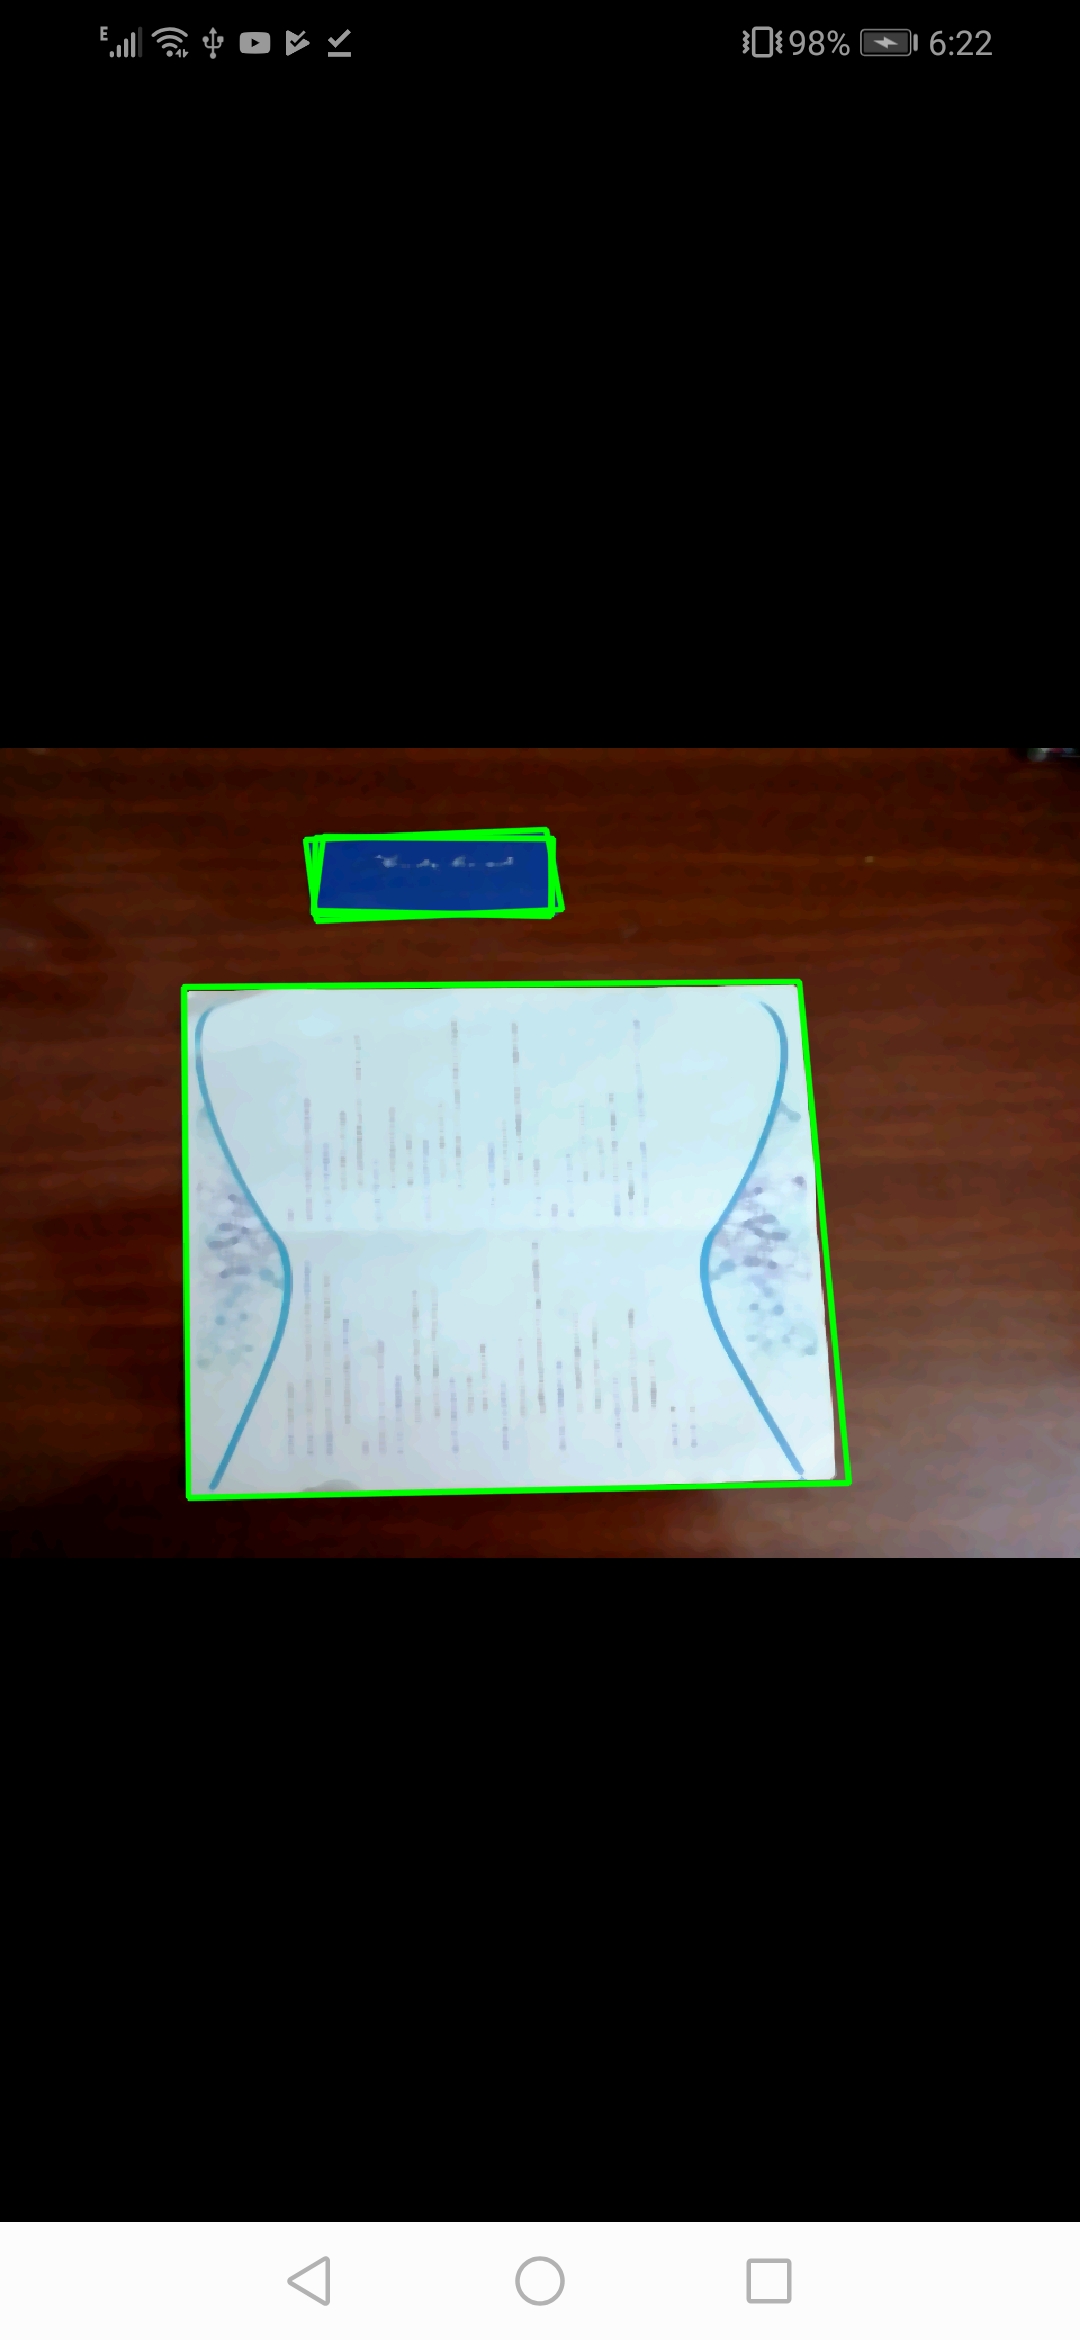
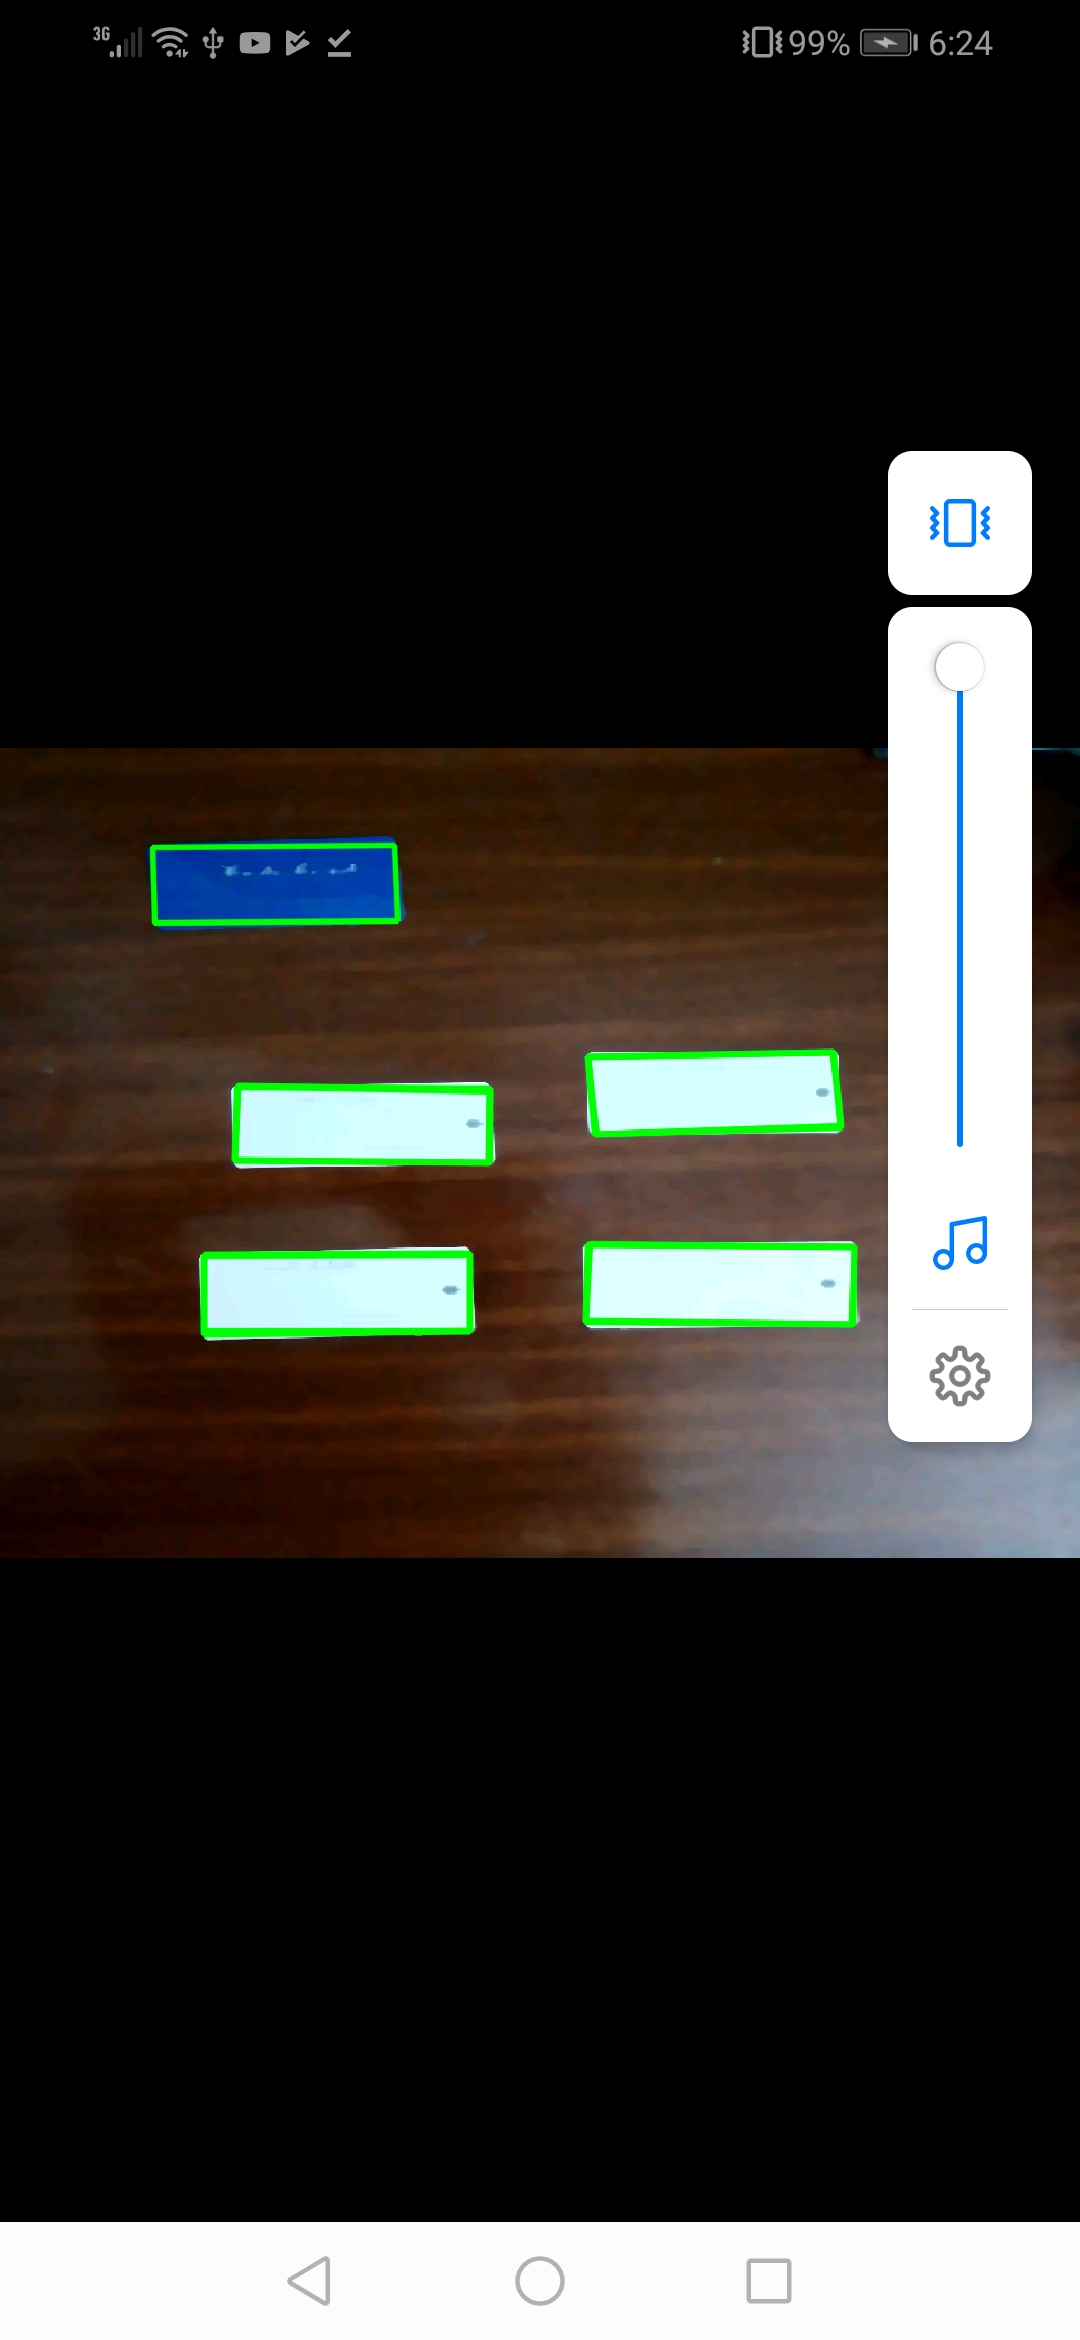
Below is an example of some of the basic operations on the image.


- CODE : Clone NDK OpenCV from github and follow usage steps
4.3. Object Detection with OpenCV DNN
OpenCV DNN (Deep Neural Networks) module has been released from OpenCV 3.3 version and it’s designed for running multiple deep learning models trained from different deep learning frameworks like Caffe and TensorFlow. It supports various networks architectures based on YOLO, MobileNet-SSD, Inception-SSD, Faster-RCNN Inception,Faster-RCNN ResNet, and Mask-RCNN Inception.
5. Conclusion
Using NDK in your applications allows them to achieve a high level of performance in terms of memory or processing time. But also, it’s not recommended to use the NDK with ordinary applications that don’t have a critical need for memory or speed performance, because Kotlin and Java are already optimized and simple to use and implement.
In future posts, I will cover more examples of using Computer Vision and Deep-Learning with NDK.
6. References
1- Android* Application Development and Optimization on the Intel® Atom™ Platform
2- Android ABIs
3- Droidcon SF 2018 - Getting Started with the Android NDK
4- Getting Started with C++ and Android Native Activities
